
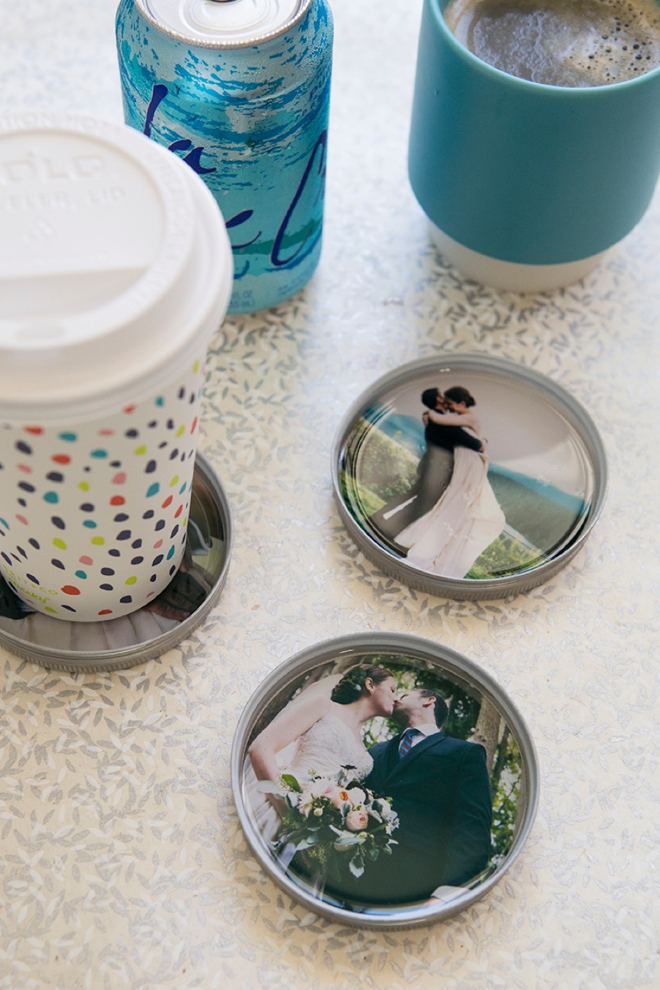
If you’ve never worked with resin before, don’t worry, it’s super super easy and this is the perfect type of project to start with. No sanding, no fussing, just print + pour. These coasters will look adorable on your desk at work, on your nightstand… or anywhere really and the best part is that because the mason jar lid has a lip, when condensation forms from cold beverages, the mess will be contained! Make these darling coasters as gifts for your friends, bridesmaids, parents or grandparents… or make them for yourself as keepsakes or decor for your new home!


SUPPLIES:
- Canon PIXMA TS9020 (or your own color printer)
- Canon Photo Paper Plus Semi-Gloss (or your own brand of photo paper)
- EasyCast Clear Epoxy
- “One-piece”, Wide Mouth Mason Jar Lids
- Plastic Cup and Stirring Stick
- Adhesive
- Lighter

Print Your Photos
Crop and size your photos to 3.5″ square and then print them onto paper using your printer. The awesome thing about this printer is that you can print photos from your computer, off an SD card, or even wirelessly from your phone – choose the function that fits you best!
CRAFTERS TIP: If you aren’t using these lids, measure yours and size the photos accordingly!


Trace The Lid
To get the perfect circle, trace around the lid on the photo.

Trim Photo
Cut the photos by following the circle line you traced, but cut about 1/8″ inside the line so they’ll fit inside the mason jar lid.

Add Photo To Lid
Using your favorite scrapbooking adhesive, adhere the photos to the inside of the lids so they don’t move around when you pour the resin.

Mix The Resin
Follow the mixing directions on your package of resin and prepare to pour. The 8oz box of resin I used here is enough to make 7 coasters.

Pour The Resin
On an even surface, where your coasters can cure overnight, carefully pour the resin into the lids filling them about halfway.

Burn The Bubbles
Taking a flame to the top layer of resin immediately burns off bubbles! Do this step right away as any bubbles that you see will dry that way.

Dry Time
It takes a few hours for the resin to get hard and then it will take at least a week to fully harden so that you can put a cup/drink on top. It goes from sticky to tacky to hard like glass… give it time – don’t rush it!


No comments:
Post a Comment