
I came across this DIY that's always a fave, so I had to share! Now, go glitter those bottles! :)

SUPPLIES:
- Bon Affair (or your choice of alcohol bottle)
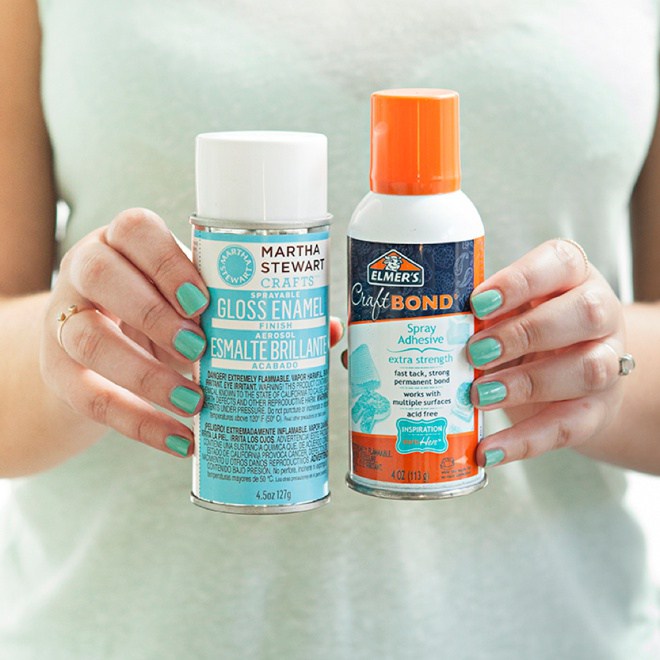
- Elmer’s Craft Bond, Spray Adhesive Extra Strength
- Martha Stewart Crafts Sprayable Gloss Enamel Finish
- Martha Stewart Crafts Patterning Tape
- Glitter in your choice of colors
- 8.5″ x 11″ white cardstock
- Hole Punch
- Scissors
- Ribbon
- Cute paper straws
- Our free printable tags below!

Grab Our Free Tags
Download and print onto white 8.5″ x 11″ cardstock. Simply cut each one out with scissors or a paper trimmer.
Punch A Hole
To complete the tags, punch a hole in the top of each one.
Glue + Sealer
I’ve tried a few different spray adhesives and sealers – and these two are the ones you want to buy for this project: Elmer’s Craft Bond, Spray Adhesive Extra Strength and Martha Stewart Crafts Sprayable Gloss Enamel Finish. The stick + finish stands up beautifully to cold + condensation when your bottles are put in the fridge! Although I did not try them chilled in a champagne bucket with ice. No glitter bottle should be put on ice – it’s just a bad combo. Keep that in mind when choosing what varietal to glitter!I was able to make 12 bottles (6 large + 6 small) with each and I still have some adhesive/sealer left in both bottles for reference.
Tape Off Your Bottle + Prepare Workspace
Tape off areas of your bottle that you don’t want glittered. The patterning tape I’m using is low-tack which is terrific for using on top of labels of all kinds, as it peels of gently.This is a bit of a messy project with the spray glue + glitter so cover your workspace with kraft paper or something similar.

Glue + Glitter
Working in sections, spray the adhesive onto the bottle and quickly shake on the glitter. For the large bottle I did 3 sections; for the small bottle I only did 2. Take your time with this project. Don’t rush. Try to keep your hands out of the glue and glitter as it can be quite messy!
Remove The Tape Right Away
As soon as you are done glittering, remove the tape. Otherwise the spray adhesive will dry onto the tape and it could peel your glitter off when you go to remove it. If it’s already dried, carefully take a craft knife to the edges before you peel.
Seal Your Glitter 2x
This is the most important step. Unless you want glitter all over the place; on your hands, in your glass, and maybe even in your mouth – you need to seal the glitter coat two times! Spray to cover all glittered areas and let each coat dry for at least 10 minutes in between coats. If you feel that the glitter is still coming off – spray another coat!
Add Your Tags
Using ribbon or twine, tie your super fun tags onto your glittery bottles!


No comments:
Post a Comment